
Advanced
Belive it or not, that was the easy part. Now it starts getting complicated!
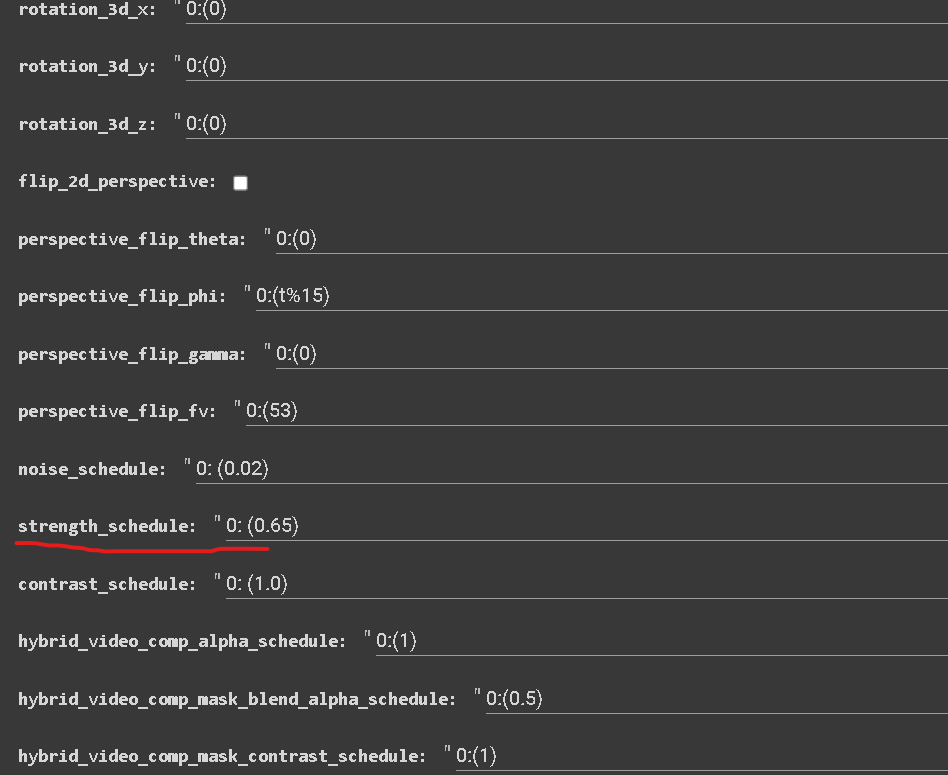
strength_schedule is one of the most important settings in Deforum.
When you are rendering an animation, it is going to tell to Deforum the amount of information from the previous frame to retain while generating the next frame.
This means that the first frame is working as an initial image for your animation to build on, and the strength_schedule determines how much of a “new frame” is benig generated.
THAT’S WHY DEFORUM RENDERS THE FIRST FRAME AT 100 STEPS (for example) and THE NEXT FRAMES AT AROUND 35 STEPS if you set the strength_schedule to 0.65.
If you have 100steps and the strength_schedule to 0.50 (for example), next frames will be around 50steps.
minimum value is 0.0 and maximum is 1.0.
This parameter is extremely sensitive, values of 0.05 make a good difference in the result (0.70 to 0.75 for example).
Values of 0.01 are fine tuning (0.73 for example).
HOW DOES THIS HELP US?
Lowering this parameter is going to generate more new pixels, this is key when changing prompt or scene or for fast camera movement.
This is going to result in less artifacts and errors in your render and will keep your render “fresh”, but you will have much less coherency (as Deforum is not keeping much from the previous frame) and your animation will look more “giffy”.
Raising this parameter is going to generate less new pixels, this is key for getting good looking and coherents results in your animation, for example in a panoramic shot or a portrait, but you will have more errors and your animation will look a bit “sticky”
(as Deforum is keeping more pixels, it kinda feels like they are stuck to the screen).
Note: The term for the generation of new pixels is referred to as Diffusion.
WHAT DO WE DO?!
Simple: We animate it by setting keyframes to drop and then rise at the appropriate moment and with the correct value.
As you can see in the example with lower strength schedule there are much less artifacts and the diffusion is able to keep it up with the camera movement


Set a camera movement.
In this case, the cam is moving from left to right, and then rotating right to left at 62 frames to then stop the rotation at 84.
Keep the strength_schedule higher when the cam is steady, lower it when the cam moves, and then lower it a bit more when you wanna make and evident change in your scene or prompt.
(I’m a leaving 1 sec of time to allow the diffusion to happen when it generates the new prompt before going back up)
Set your next prompt
EXAMPLE 1
EXAMPLE 2

As you can see, in the first example, the drop was not enough to guarantee the transition we were looking for.
But there is more coherency in the render.
In the second example the transition is much more evident, but the animation is a bit more flickery and the transition itself is really hard.
EXAMPLE 3 WITH A NEW SEED

BOOM!
Be careful when setting the strength_schedule parameter, as it has the potential to greatly impact the outcome of your animation, either making it look poor or improving it greatly.

In this example I'm going to show you also how fine tuning can significantly change your animation.
EXAMPLE 4
As you can see during the rotation, pixels tend to persist on the screen to a greater extent, causing visible artifacts and lines, and the transition becomes more difficult.

EXAMPLE 5
Now I'm going to show you an example with faster camera movement
ROTATION Y SET TO -3

EXAMPLE 6


diffusion_cadence: 6
Also the diffusion_cadence is going to impact how the strength_schedule works.
As you can see in these examples, a high value of cadence will merge too many frames, leaving insufficient time for the diffusion to take place correctly.
Remember, the seed always plays a big role in an animation, learn to also move on.
updated to
— 15/01/2023 Deforum version
Notes:
Every parameter that starts with “0:(n)” is something you can keyframe.
There are many websites that can help you with keyframing, stuff like audio2keyframe, draw2keyframe and more.
https://framesync2-alpha.vercel.app/#
https://www.framesync.xyz/
https://www.chigozie.co.uk/audio-keyframe-generator/
https://www.chigozie.co.uk/keyframe-string-generator/
You can also control these settings with math functions, which we are going to cover in a further chapter.
What you saw in these examples are “general values”.
But every situation is different, it's up to you to understand what to adjust and in which situation.
The best thing you can do to fully understand this parameter is to just test it yourself, keep your settings, write notes down, go step by step.
Remember, you can always pause and resume your animation, gradually incorporating settings as you go, so you don't become overwhelmed by all the numbers.
You can also delete frames (in numerical order, starting from the latest) from your project's folder if you encounter errors or need to undo something.